We crave warm blankets, hot cider, Netflix, and Netflix when it's cold and dreary outside. Winter also means that it's the right time to start home improvements. Winter is the best season for some home improvement projects, especially if the spring is coming. Here are some top winter home improvement projects. Below are some reasons why these projects should be considered.
Decluttering your home helps prevent depression
A great way to reduce stress and anxiety is to organize your home. It is also more pleasing to the eye to have a tidy, well-organized home. According to research clutter can cause anxiety, stress, and untidy work spaces can lead to mood disorders like depression. Decluttering can boost your spirits and prevent winter blues. Follow these steps to get started.
Improves lighting
If the temperature starts to drop, it is time to start thinking about your lighting requirements. A new light fixture will not only increase safety and energy efficacy, but can also improve the overall feel of the room as well as the mood of residents. These are some of the ways you can improve your lighting without changing any existing decor. Read on to learn more. Here are some tips for making your winter home more energy efficient.
Reduces energy costs
Many homeowners will attempt to insulate their homes this winter. Insulating your attic, basement, and crawl space will help keep warmth in and cold out. EnergyStar states that homeowners can save up to 15% on their heating bills if they insulate these areas. This can be done easily at home for as low as $400 The next step is to schedule an energy audit of your home. An energy audit of your home will identify any other issues you might have.
Increases resale value
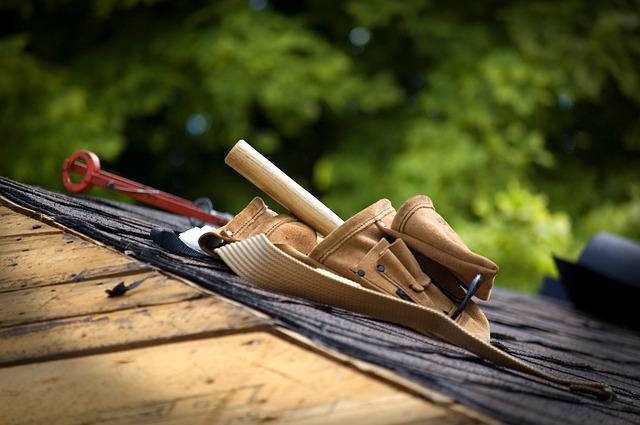
Some repairs are one of many ways to increase the resale price of your house. Even simple repairs such as replacing shingles can raise your home's value. The roof is often overlooked by people, but it's one of the first things buyers see when they drive up to your house. Performing a roof inspection is an excellent way to see whether there are any leaks or damaged shingles. A pressure washer can be used to clean dirt and oil from driveways and brick pavers.
Improves curb appeal
You can boost curb appeal by investing in low-cost, high-impact exterior improvements. Painting the front door a bright color, replacing weathered hardware, and adding new house numbers can all add appeal to the front of your home. A beautiful plant placed next to your front door will instantly transform your home. Even adding a few colorful house plants can add an extra pop of color and improve your home's curb appeal.
FAQ
How long does a handyman take?
To be a professional handyman it takes years of hardwork. It starts by helping close friends and family. Then it becomes a full time job.
As you move along, you'll learn all the skills necessary.
Can a handyman give me suggestions for how to improve my home's condition?
Absolutely! In fact, a handyman is trained in all areas of home repair and maintenance. He or she knows what needs to be fixed and what doesn't. Do not hesitate to seek advice whenever you are in need.
What qualifications are necessary to be a handyman
The most important qualification you'll need as a handyman is a patience. Also, experience with working with electrical systems, carpentry skills and plumbing knowledge is essential.
There are many opportunities for people with the right skills, but you may not be qualified if your knowledge isn't up to scratch.
This is why you might consider enrolling in a school that specializes in these types of courses.
What's the time taken by a handyman for a project to be completed?
It all depends upon the size of your project. The size of the project will determine how long it takes. Larger projects may take more time. Regardless of the size, though, a handyman will typically finish within one week.
Statistics
- Our handyman services for seniors are provided by professional senior helpers who have been serving the community for over 20 years with 98% customer satisfaction. (cantatahomeservices.org)
- “Once the pandemic hit, that number fell to about 20%.” (inquirer.com)
- “Before the pandemic, 40% of people asked how we could estimate a job when we weren't there,” Rose recalled. (inquirer.com)
- Another estimate was that the market in the United States was $126 billion and was increasing by about 4% annually. (en.wikipedia.org)
- More than 20% of homes in America have outdoor living spaces, including decks and patios. (mrhandyman.com)
External Links
How To
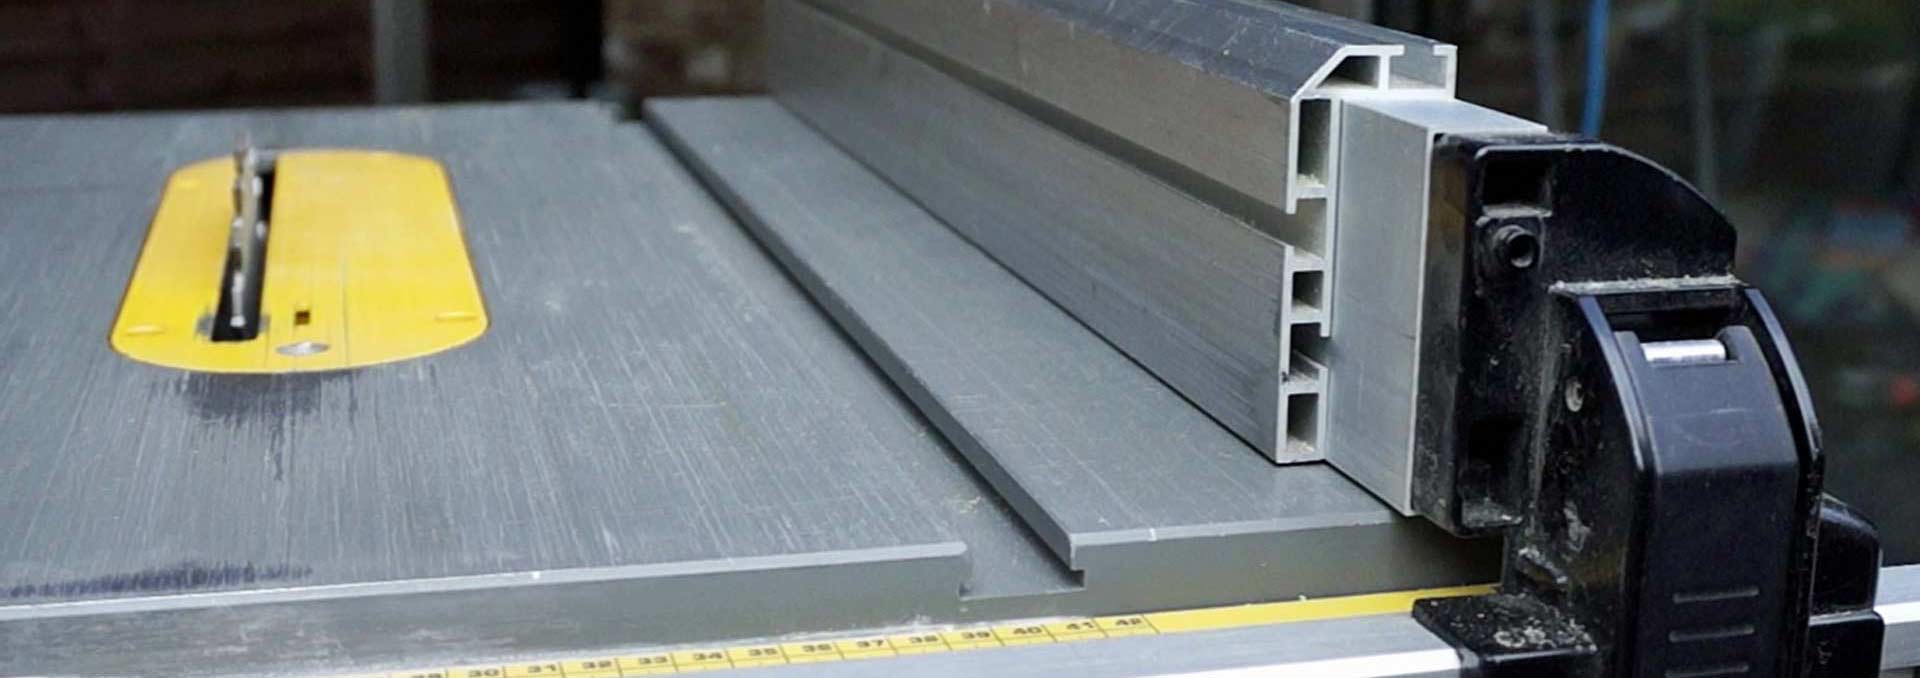
How to Replace Broken Tiles
Step 1 – Remove the tiles.
You can remove the old tiles from your floor and save them. These tiles will be useful later on, so you'll need to keep them intact. It's important to note which parts are missing or damaged in order to be able to find the right replacements.
Step 2 - Choose New Tiles
Look at these different options for replacing tiles.
-
Find a tile that is identical to the one you are removing.
-
To find the right piece, take the measurements you took as you were removing the tiles. This allows you to easily find the perfect size without needing to measure again.
-
Find colors, patterns textures, sizes and shapes in all possible combinations.
-
If you have a preference for grout, consider what it would be best to use. Some people like a consistent color while others prefer mixing it.
-
It is important to ensure that the tile you choose resists moisture.
-
Make sure you consider where your tile will be placed. It can help you save money and time.
-
Once you've found the tile that suits your needs, you can place your order online.
Step 3 - Place the tiles.
You can install new tiles in the same way you did before. You must align them correctly to ensure they fit together.
Step 4: Clean Up
Be sure to sweep up all debris from the floor before applying the final protective layer.
This will stop dirt and dust from entering the cracks between tiles.
Step 5 - Sand the Floor
Clean everything and sand the floor.
Step 6: Finish off
Once the floor has been completely smoothed, apply the protective coatings on the tiles. You should wait until this stage as wet paint can stain new tiles.
Remember, you can always use a product called "damp-and-dry" on your floors to help protect against stains.
However, it will not cover all possible problems that may arise after you have installed your tiles. For example, if you have a lot of kids running around, you may want to consider using an anti-slip coating on top of the protective layer.
Finally, don't forget to keep your protective sealer in place for several weeks before moving into your new home.