This collection of gadgets is sure to satisfy your need for fun and utility. You'll find the perfect gift to impress the DIY-loving person on your shopping list by browsing our thoughtfully crafted guide.
- iRobot Roomba 692 Robot Vacuum-Wi-Fi Connectivity
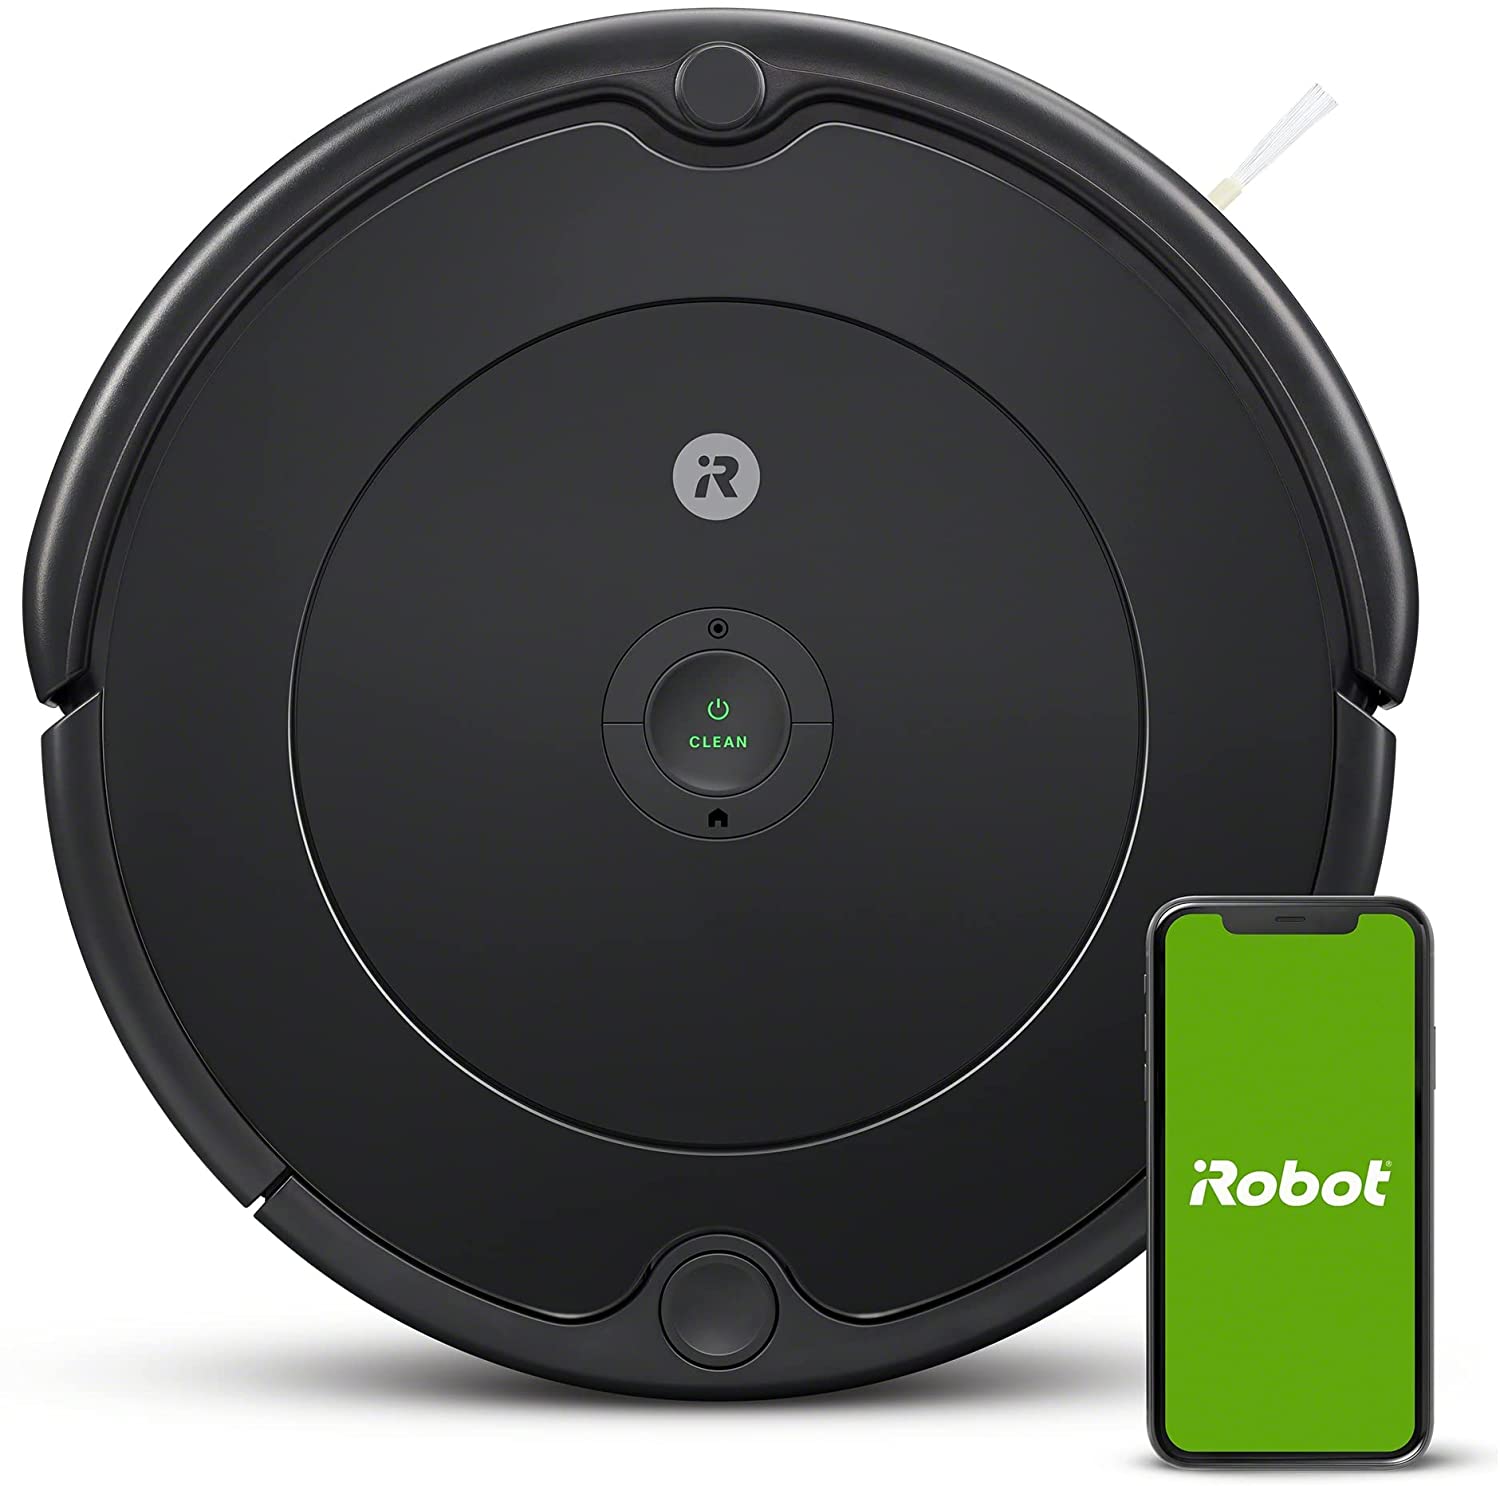
Roomba 692 RobotVacuum with Wi Fi Connectivity. This little robot cleaner has been improved to clean deeper and smarter. This robot can lift, lift, and suctions dirt like no other. It adapts to the location of your home and provides a personalized clean. The best feature is that the Roomba692 can be controlled via Alexa or Google Home by listening to your voice. You can even start, pause, and stop cleaning with just the sound your voice makes. And when it's done cleaning, the Roomba 692 automatically recharges so it's always ready for another round of cleaning. Get yours today
Get the iRobot Roomba 692 Robot Vacuum-Wi-Fi Connectivity on Amazon.
- USB Wall Charger Protection 5 Outlet Extenders with 4 USB Charging Points

If you are frustrated by the lack of USB ports that can charge all your devices, this product is for you. This USB surge protector charger includes five outlets as well as four USB charging ports. It can be used to charge multiple devices simultaneously. It's also compact and portable, so it can be taken with you everywhere.
Get the USB Wall Charger Surge Protector 5 Outlet Extender with 4 USB Charging Ports on Amazon.
- Philips Hue Smart Hub
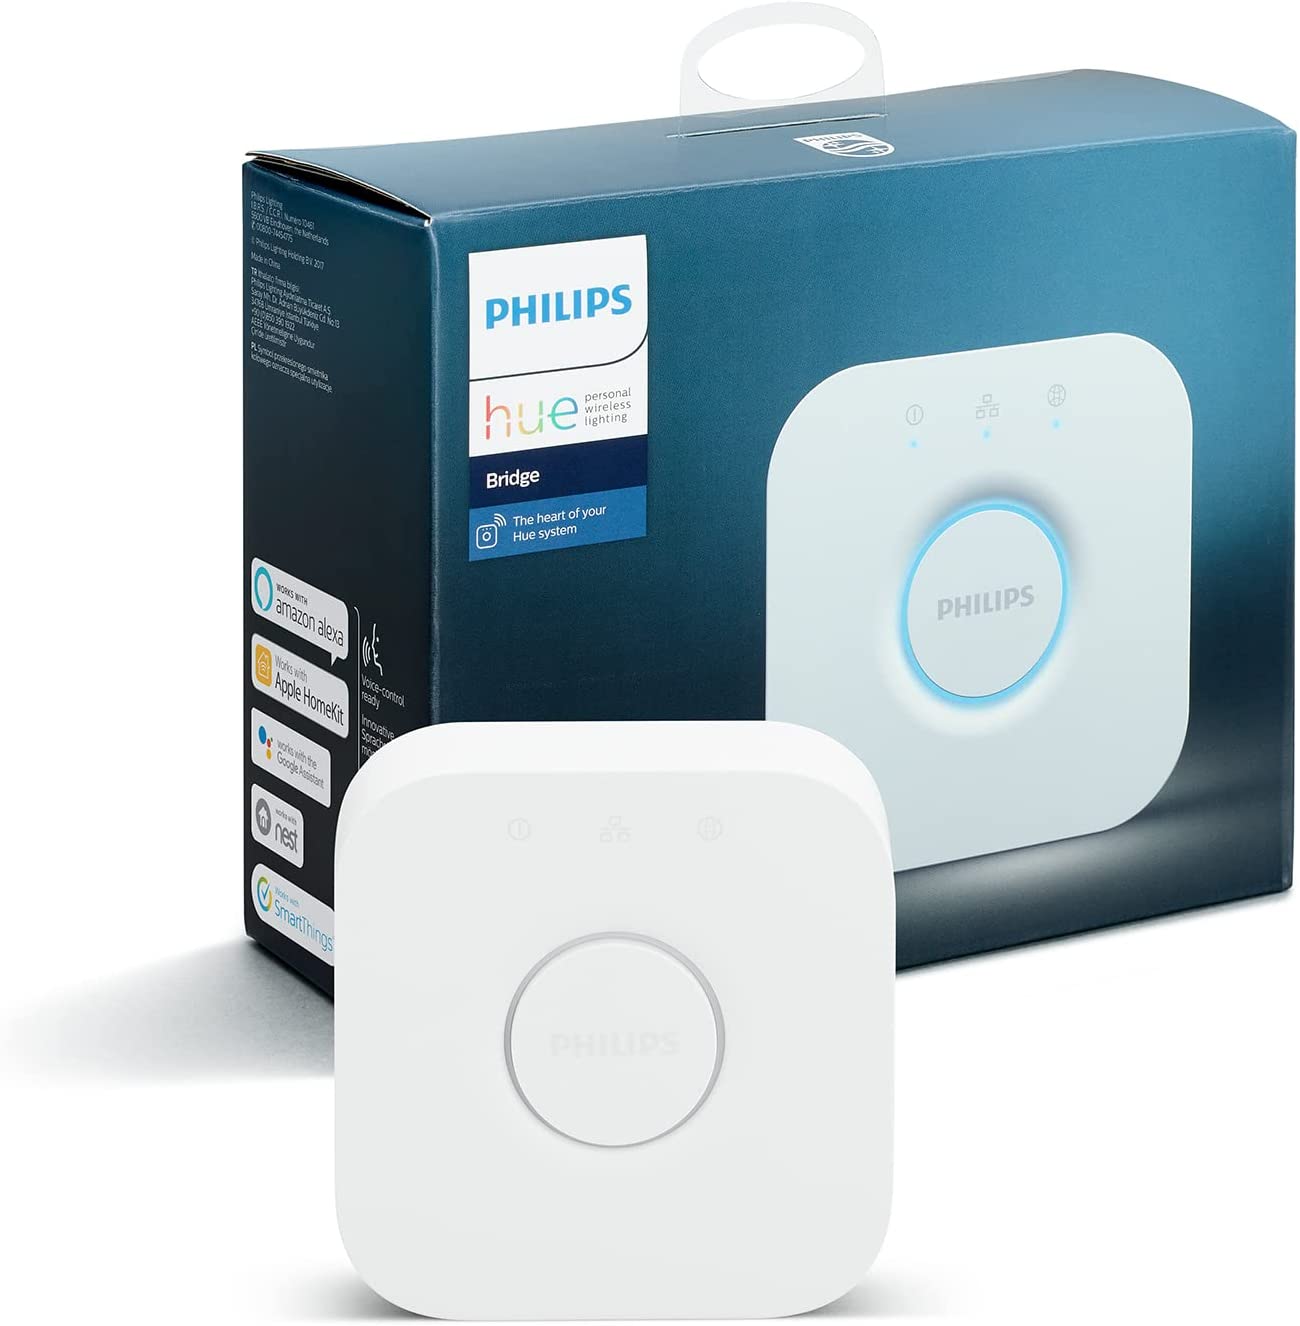
The Philips Hue SmartHub is the heart of the Philips Hue System. You can control all Philips Hue devices via the Philips Hue application, even if you're not at home. You can control up to 50 Philips Hue intelligent lights with voice activation, using Alexa and Apple HomeKit. Your smart home can be fully automated with timers or alarms. You can connect to many apps, dim smart lights, and control them all.
Get the Philips Hue Smart Hub on Amazon.
- ShowerStart TSV3 Upgrade Valve for Hot Water Saving Shower Head
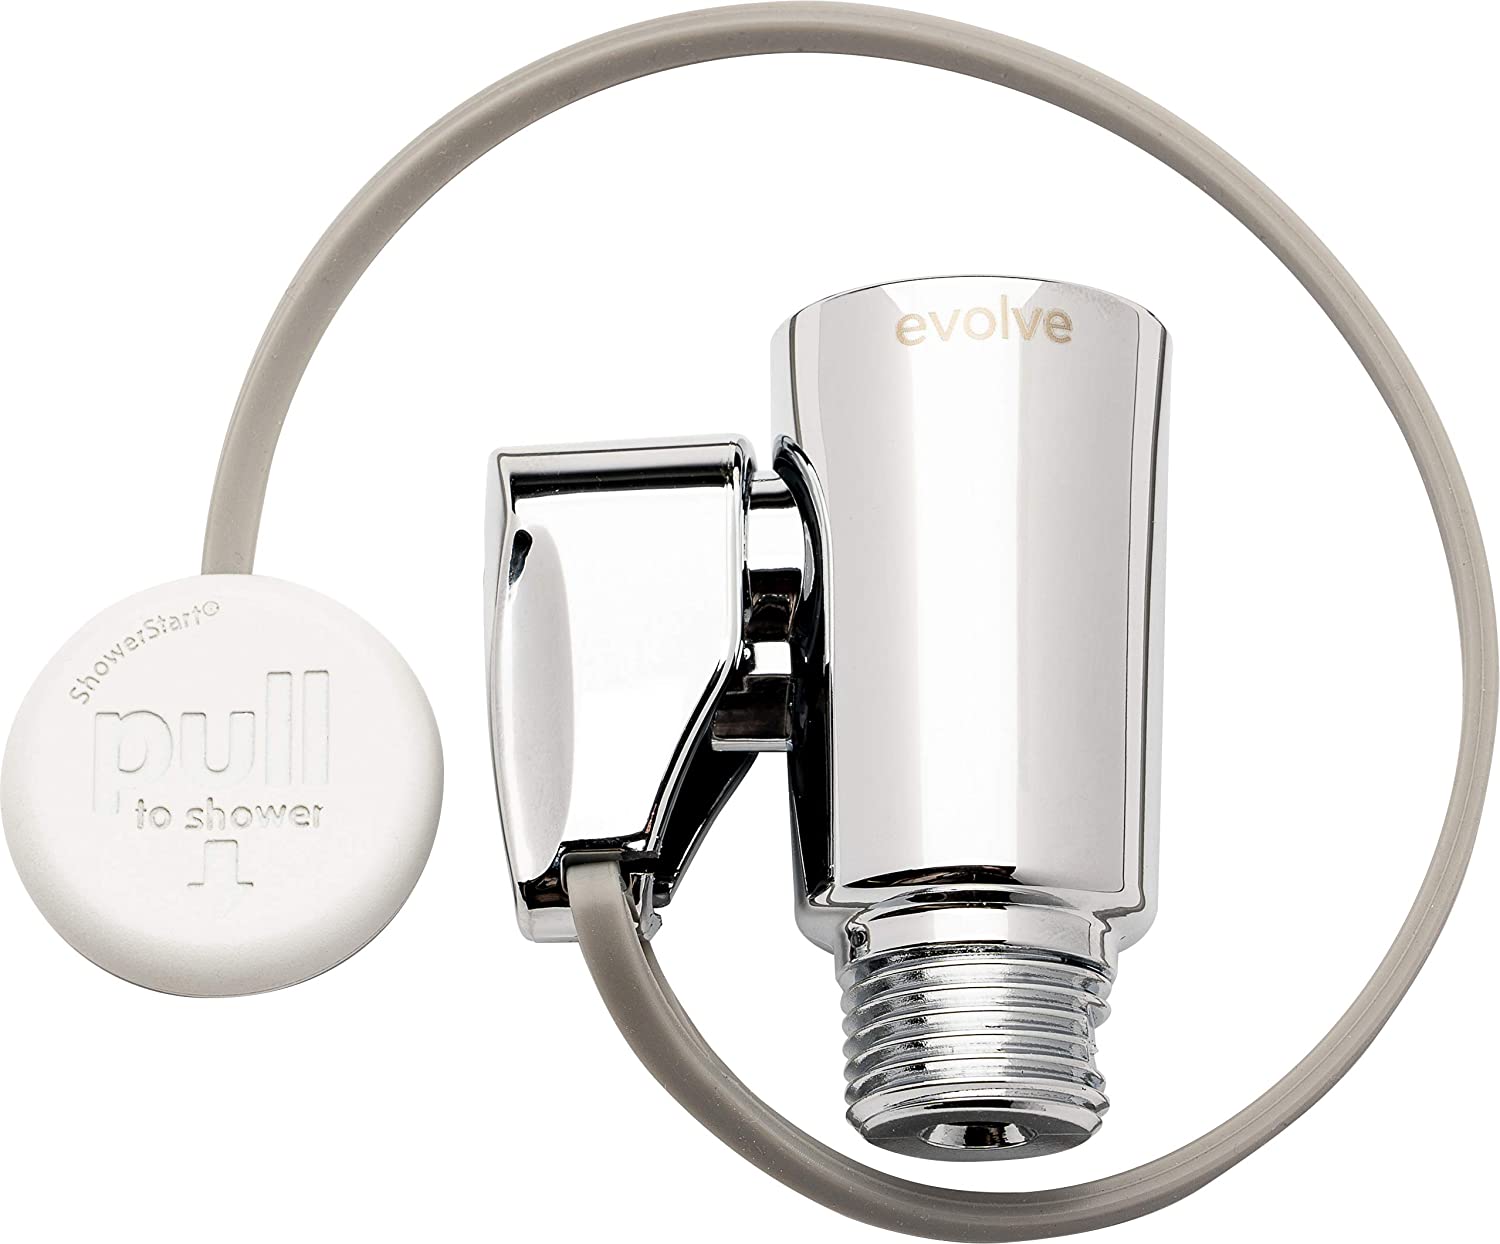
ShowerStartTM TSV 3 can be installed in as little as 2 minutes. With just a twist of the valve, this hot water saving shower head upgrade will help keep your shower high pressure and feel - not low flow. It prolongs the life of hot water, so you can get more out of your family's time spent under the stream. You can multitask while you wait.
Get the ShowerStart TSV 3 Hot Water Saving Shower Head Upgrade Valve on Amazon.
- Google Nest Learning Thermostat
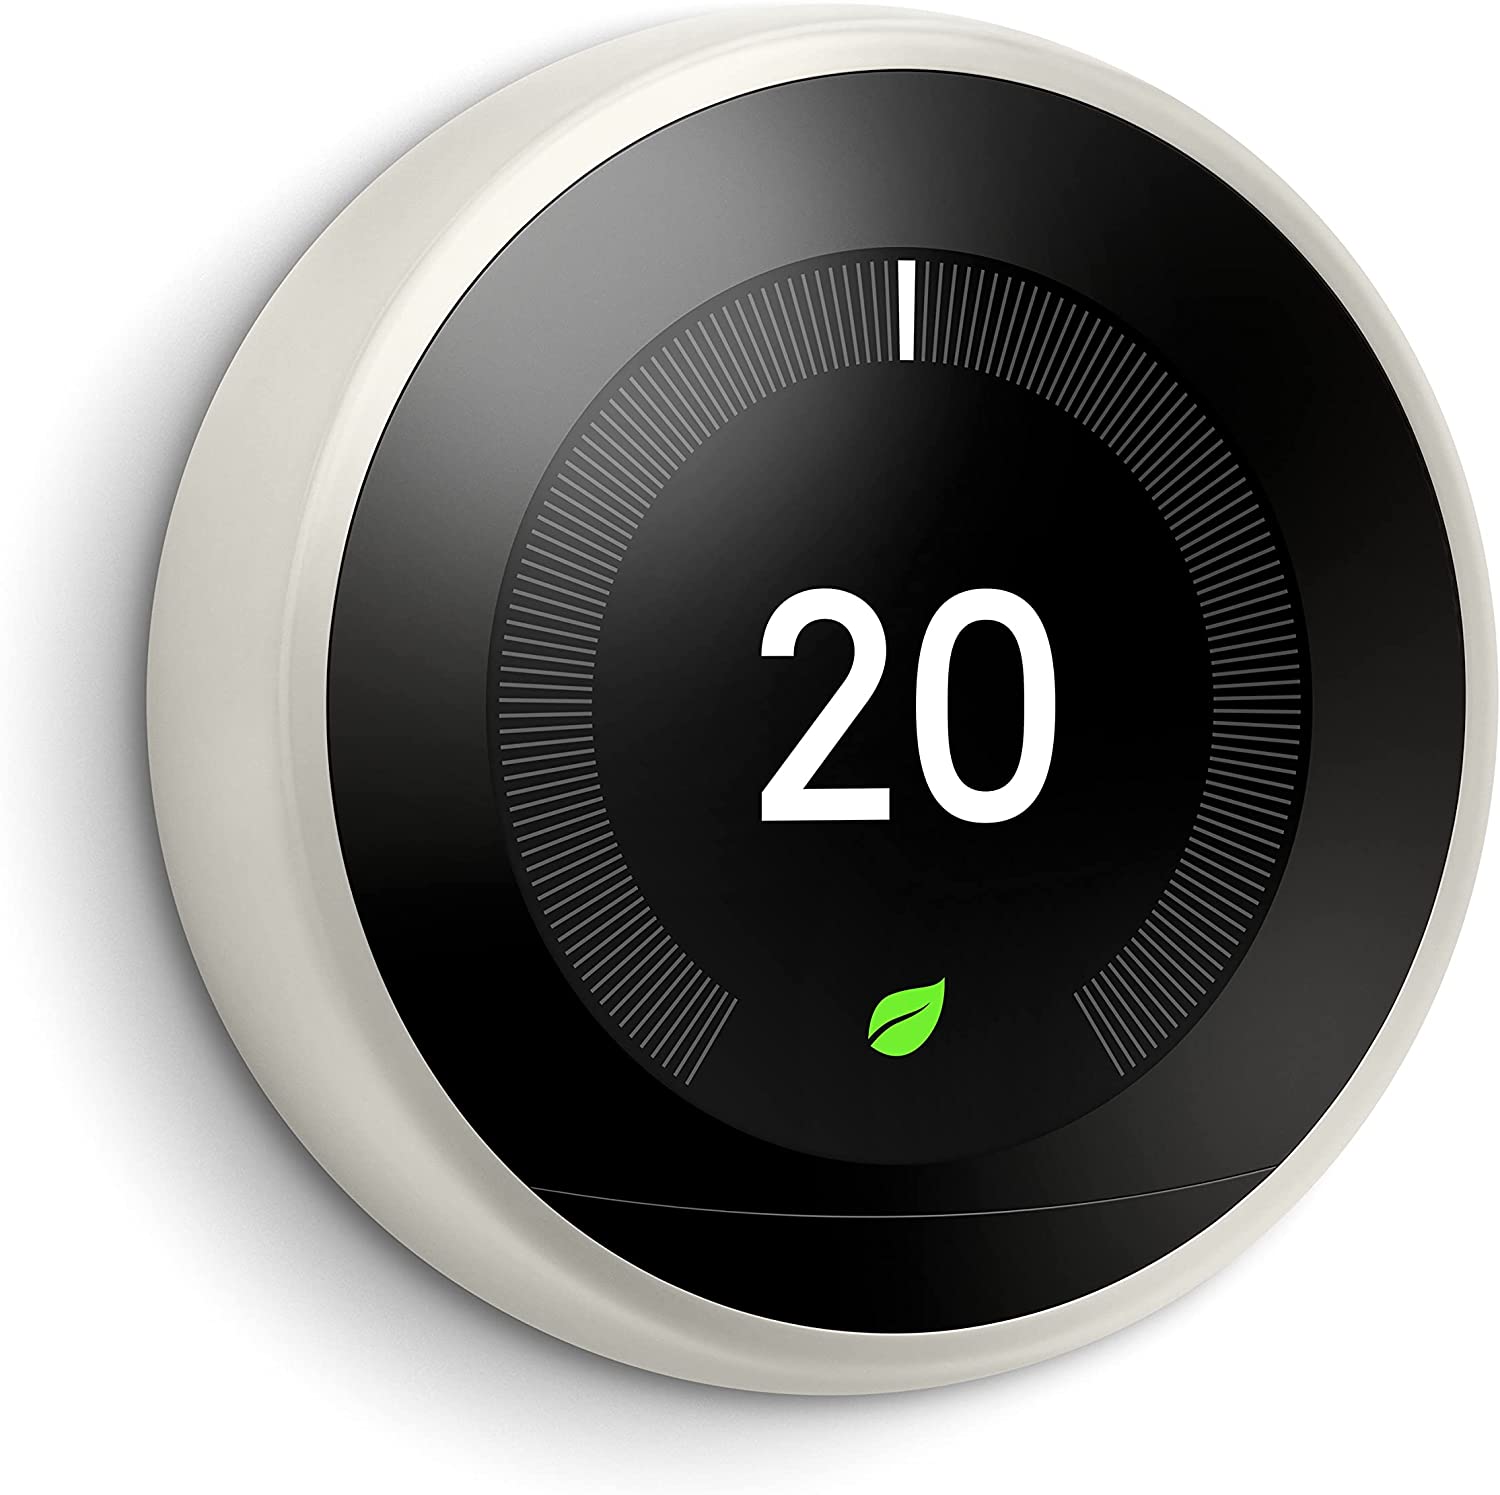
Google Nest Learning Thermostat: Think your days of fumbling with confusing thermostat settings are behind you? Wrong! The Google Nest Learning Thermostat will make your life a lot easier. This gadget is extremely easy to use. It acts much like a regular thermostat. You can also program it and/or have it learn from you. It allows you total control over your home's climate, regardless of the time of year. You can even adjust the temperature and humidity globally to create a comfortable environment for everyone inside your home, even when it's cold outside.
Get the Google Nest Learning Thermostat on Amazon
- Security Camera Doorbell
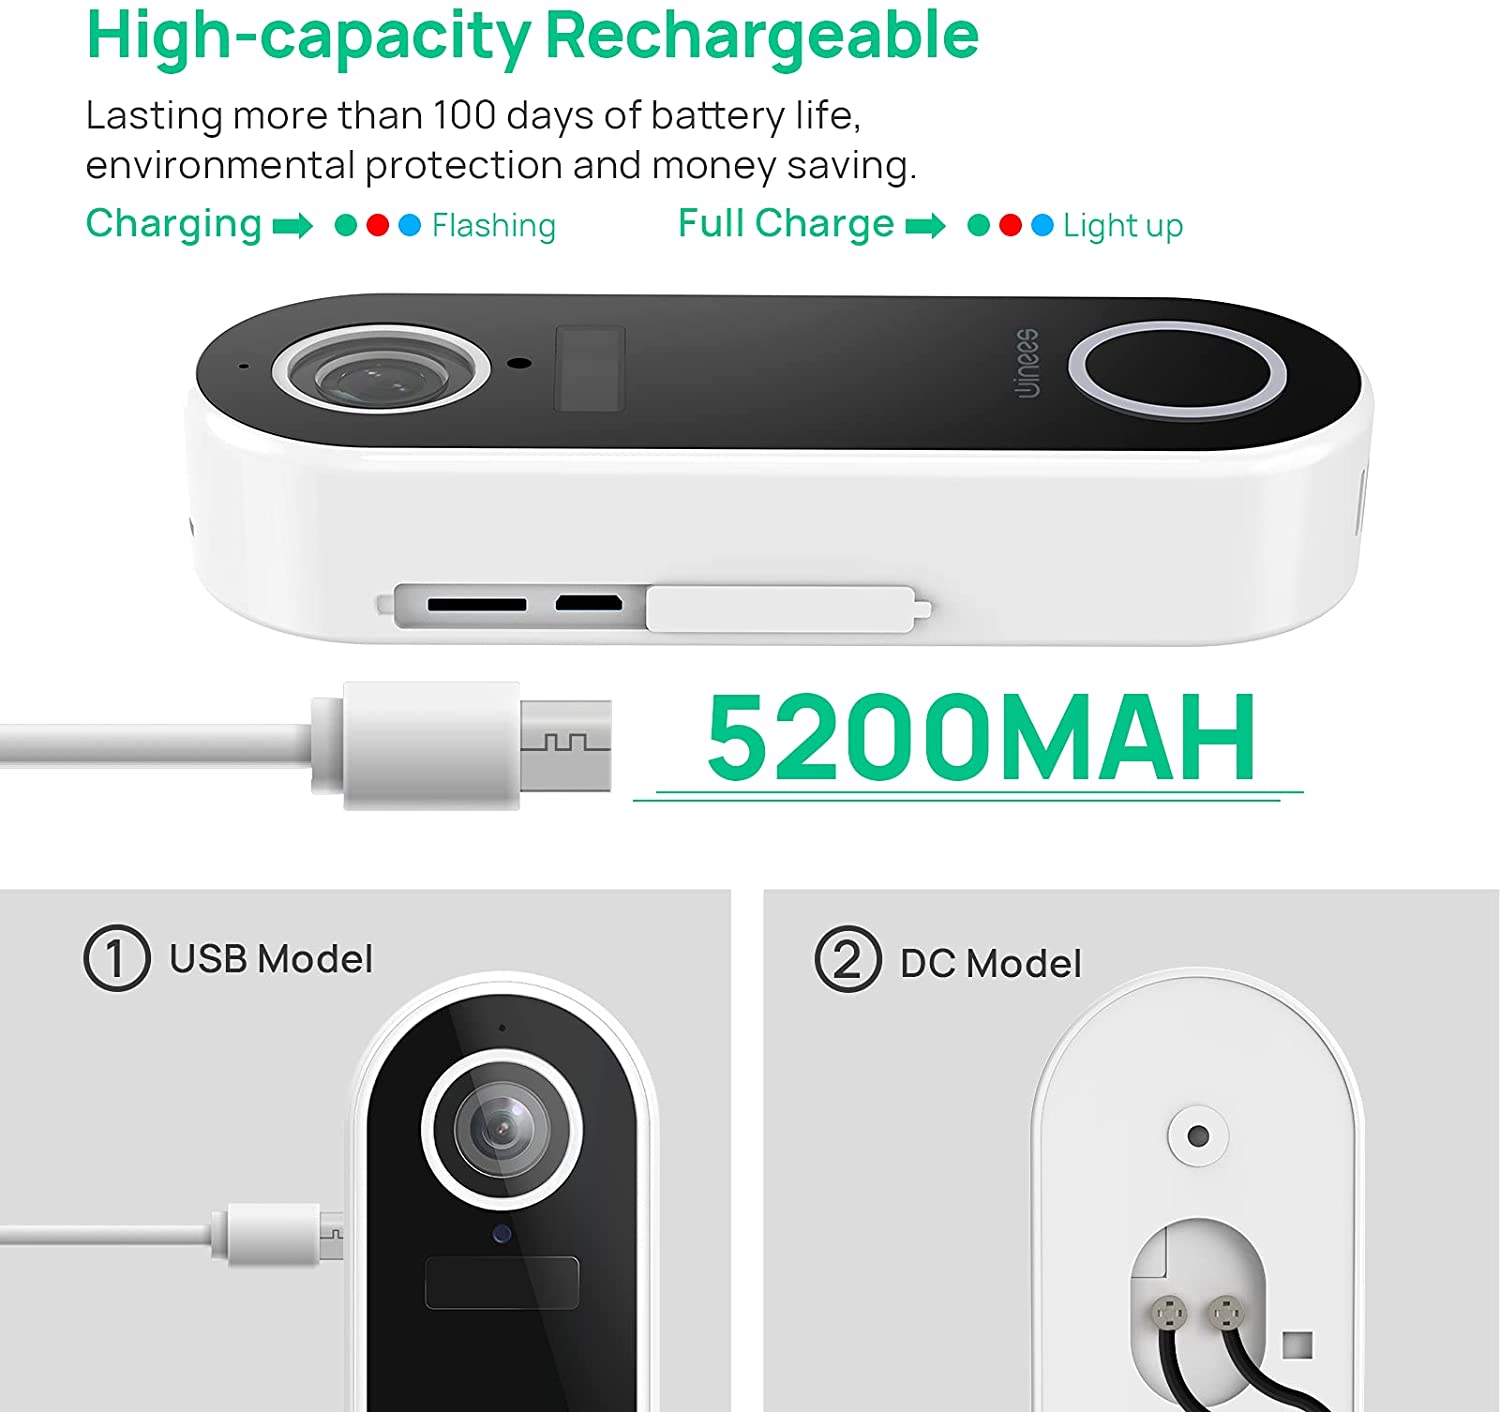
This extraordinary line-up has both indoor as outdoor cameras. Security and safety are very important. With the 1080P Full HD Resolution Recording Camera, you'll be able to monitor everything that happens in front or near the door all day long! The wide 140deg viewing angle allows you to capture more than just what's happening right outside on your porch; giving homeowners peace of mind knowing they can check suspicious activity any time anywhere simply by pressing a button from wherever they may be - whether it's work commute waiting at a stoplight while heading into town early Monday morning before everybody starts their weeklong vacation later tonight...or having dinner guests over who have been staying overtime lately trying not only to make sure nobody enters
Get the Security Camera Doorbell on Amazon.
- Temperature Control Sheets

PeachSkinSheets have the original moisture-wicking temperature controls sheets. They keep you comfortable and cool all night. These sheets are made of a unique performance fabric which allows air to circulate freely. This prevents overheating. They are machine washable and wrinkle resistant for easy care. Order your set today
Get the PeachSkin temperature control sheets on Amazon.
- Oreck Elevate Vacuum Cleaner Bagged Upright
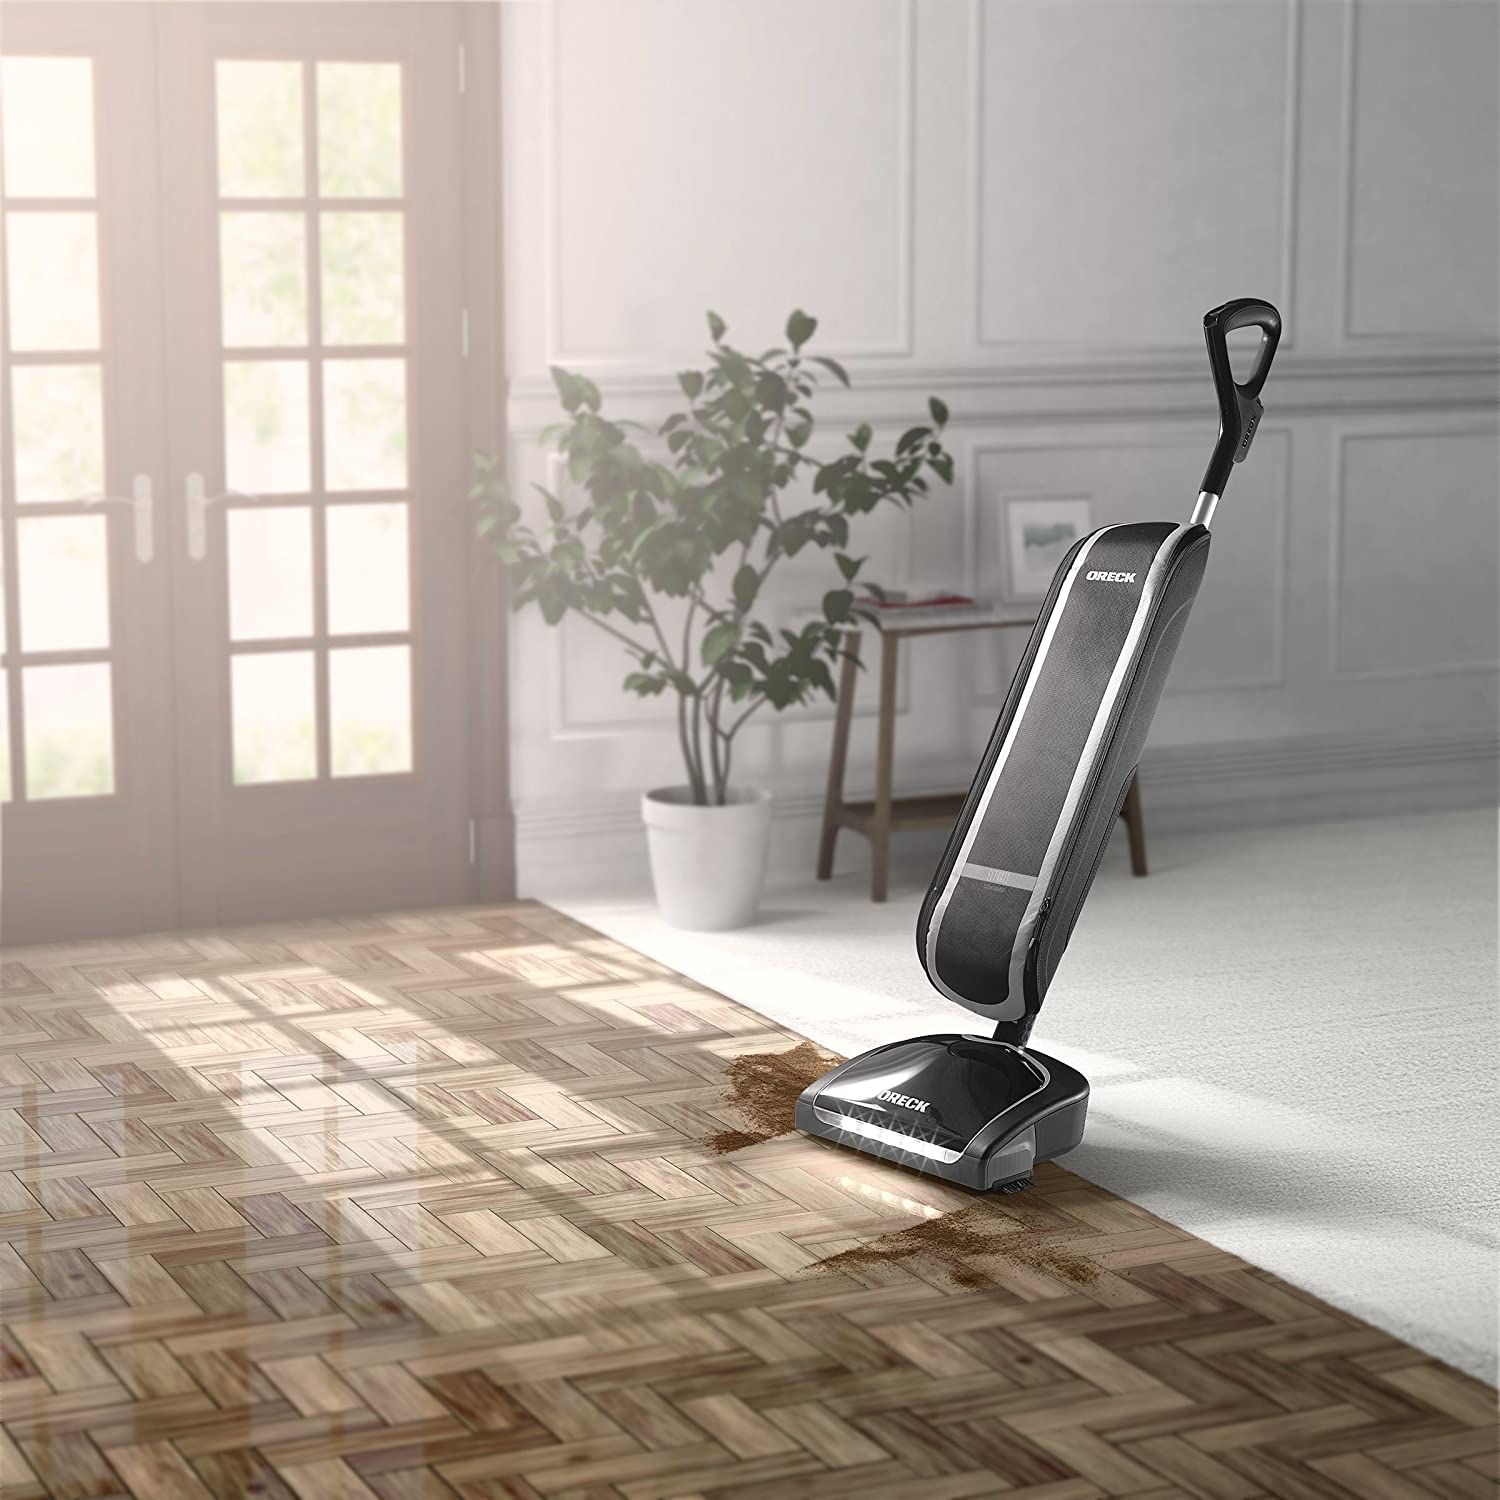
Oreck Elevate Command Bagged Upright Vacuum Cleaner will take your cleaning to a new level. This powerful, lightweight vacuum cleaner is easy to maneuver and has a long reach, making it perfect for cleaning hard-to-access places. The vacuum cleaner is equipped with Sani Seal technology which traps 99% allergens and locks in dirt for disposal. Two speed control settings allow you to easily adjust suction power to meet your needs.
Get the Oreck Elevate Command Bagged Upright Vacuum Cleaner on Amazon.
- Hatco TPT-120 commercial toaster
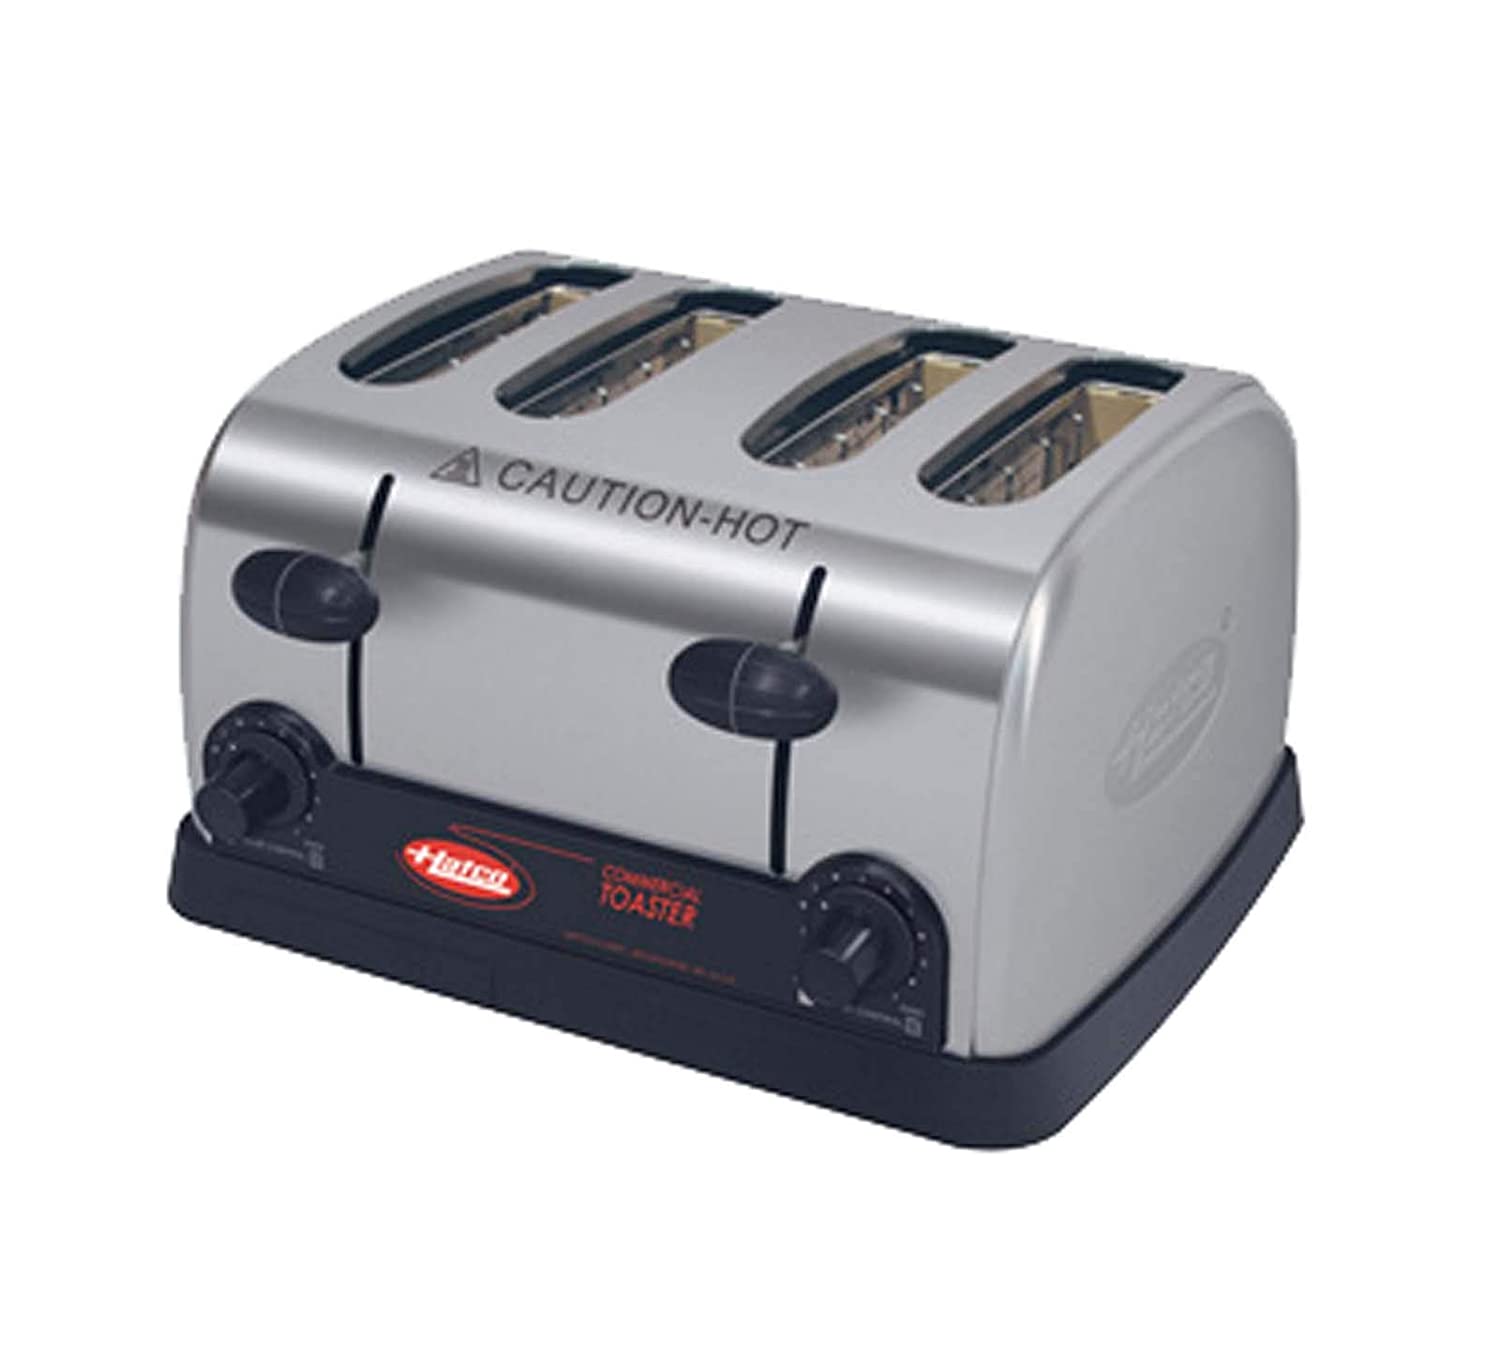
Hatco TPT-120 commercial toaster. This commercial popup toaster is perfect for self-serve or light duty use. The toaster features four 1-1/5" wide slots that are self-centering, as well as individual progressive color controls and a durable stainless steel structure.
Get the Hatco TPT-120 commercial toaster on Amazon.
- Rachio8ZULWC-L Generation: Smart, 8-Zone Sprinkler Controller
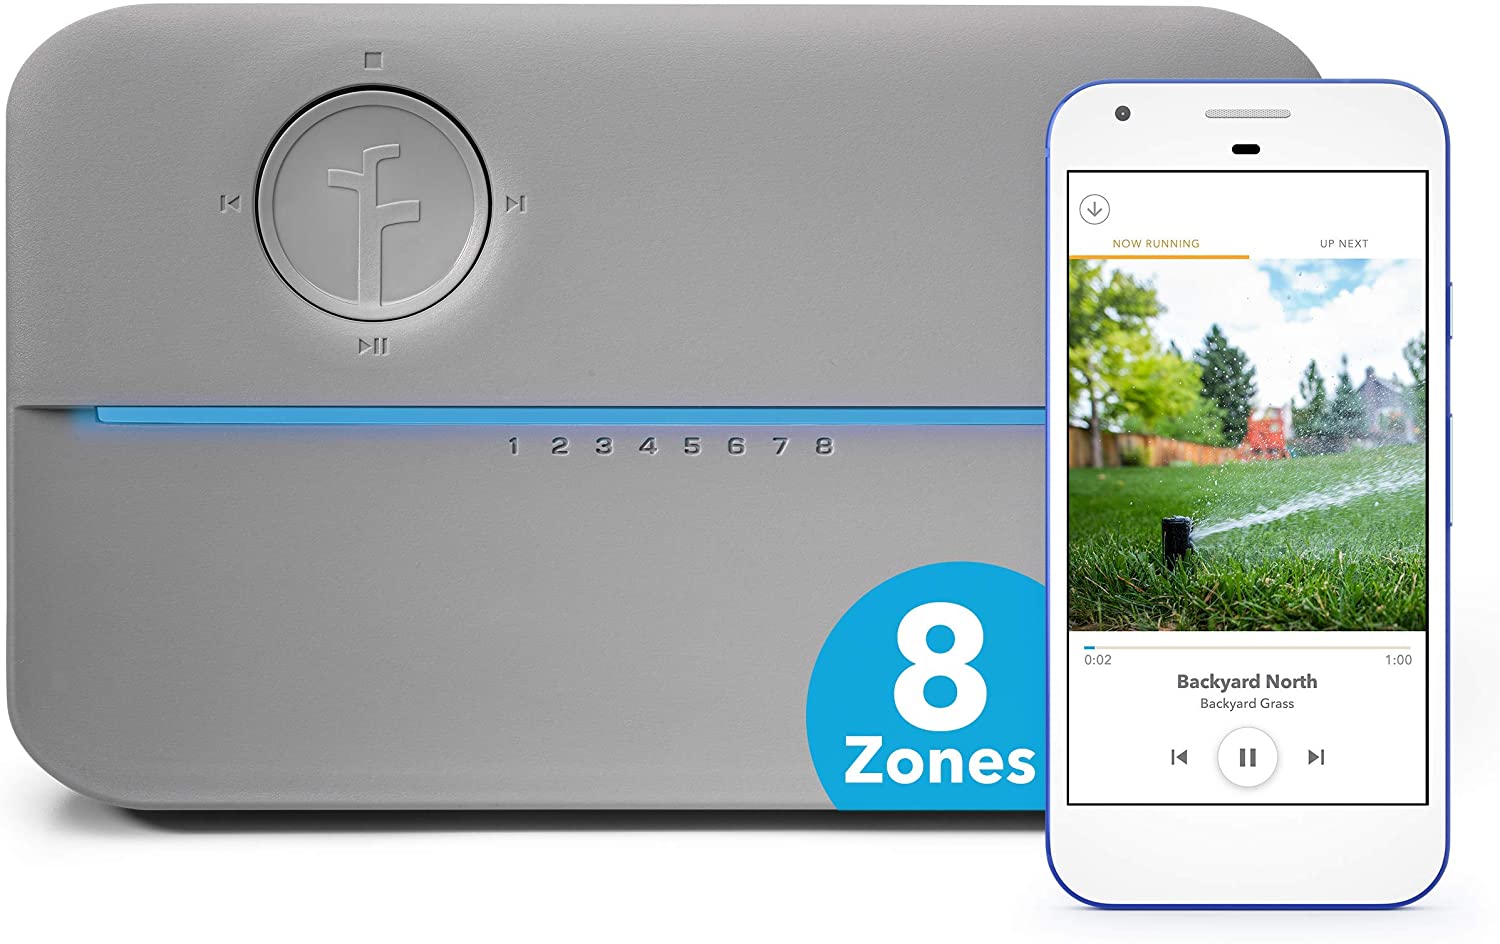
Do you want to save time and money? Rachio 8ZULWC - L R3e Smart Sprinkler Controller is the answer! This 8 zone controller automatically cuts down on unnecessary watering based on weather conditions. It will also reduce your monthly watering bills without compromising your lawn’s health. Plus, for even greater recurring water savings, check out the Rachio 3 Smart Sprinkler Controller!
Get the Rachio 8ZULWC-L R3e Generation: Smart, 8 Zone Sprinkler Controlleron Amazon.
Conclusion paragraph There is something for everyone, whether it's a vacuum for pet hair or a portable dishwasher that can wash the baby bottles and separate them from the dishes. Which product did you find most appealing? Tell us about the products you love and we will gladly share more information with you on how they can improve your home.
FAQ
Which is more difficult: being a contractor or a handyman.
Handyman work requires less resources than contracting because you only need your own tools. However, you must be able to manage your own workload and schedule, while contractors typically rely on subcontractors to do most of the work.
What time does it take for a handyman finish a job?
It all depends on how large the project is. Larger projects usually take more time to complete. The average handyman will finish any size project within one week.
What does the average handyman charge an hour?
A handyman usually charges $50-$75 for an hour. They have been doing this for many years. The average time they spend on any job is around 10 hours. They don't have the need to advertise, they are well-known within their neighborhood.
They have a tendency to be specialized and develop customer relationships over time.
Their key difference from other contractors is their quickness, reliability, and affordability.
Most people have at least two or three of these guys that they can trust enough to call for help when they need it.
Some people are so successful that they start their own company.
Statistics
- “Once the pandemic hit, that number fell to about 20%.” (inquirer.com)
- Another estimate was that the market in the United States was $126 billion and was increasing by about 4% annually. (en.wikipedia.org)
- “Before the pandemic, 40% of people asked how we could estimate a job when we weren't there,” Rose recalled. (inquirer.com)
- Mila keeps a commission of 20% for each completed service performed by Friends and charges various service fees regarding work done by Pros. (appjobs.com)
- According to the U.S. Bureau of Labor Statistics, in May 2020, there are 1,357,630 handymen employed in the U.S.. (angi.com)
External Links
How To
How to Install a Receptacle Box
Always follow local guidelines when installing an electrical outlet. You should ensure that the wiring is done correctly, and that there are no fire hazards or water damage.
For installation, most boxes come prewired with four wires coming directly from the breaker panels. The two black wires run through a box to the first screws on one side. While the red and the white wires run to the second screws on the opposite side. When connecting wires, it is important that you don't use wire nuts or wrap around screws. If this happens, you will probably have trouble getting the wires to stay in place after they are tightened down. These wires should be free to move, but not tight enough to cause them to pull out of the holes.
If you want to add receptacle to an already existing box, you might need to consider adding another piece of hardware. This task involves removing the metal top from the box and adding a new cover. After you have made the hole for your new receptacle, and attached the coverplate, you will need to connect all wires to your new receptacle.
It is possible to replace existing light switches in your house with modern ones without the need for a licensed electrician. You will first need to remove the old switch and its mounting place. The next step is to unplug any wires attached to the switch. These wires include those that supply electricity to lights and power going into the switch. After you've disconnected everything, you're ready to begin the replacement process.
After you remove the old switch, measure how far the wall studs are from your new switch and mark them using a permanent marker. Once you have measured the distance between wall studs and marked them with permanent markers, you can determine whether the new switch must be mounted high above the floor or below it. Depending upon the height of the switch, you'll need to drill a hole to mount the bracket or attach it directly to drywall using drywall anchors.
After the measurements are taken and the locations have been marked up, it's time to get started. You will need to remove the drywall from the area where the switch will go. To avoid accidentally cutting the cable in the wall, leave 8 inches between each stud. Next, install the switch by attaching the brackets to it. You will also need to attach the cables to the switch before tightening it down onto the mounting plates. Once you have installed the switch, turn the power back ON and test it to make sure it functions properly.